Drive is the most popular service for free cloud storage. It’s extremely efficient, offering 15 GB of free data storage, Google Docs integration, and access from anywhere. This article will help you to change your google drive folder location.

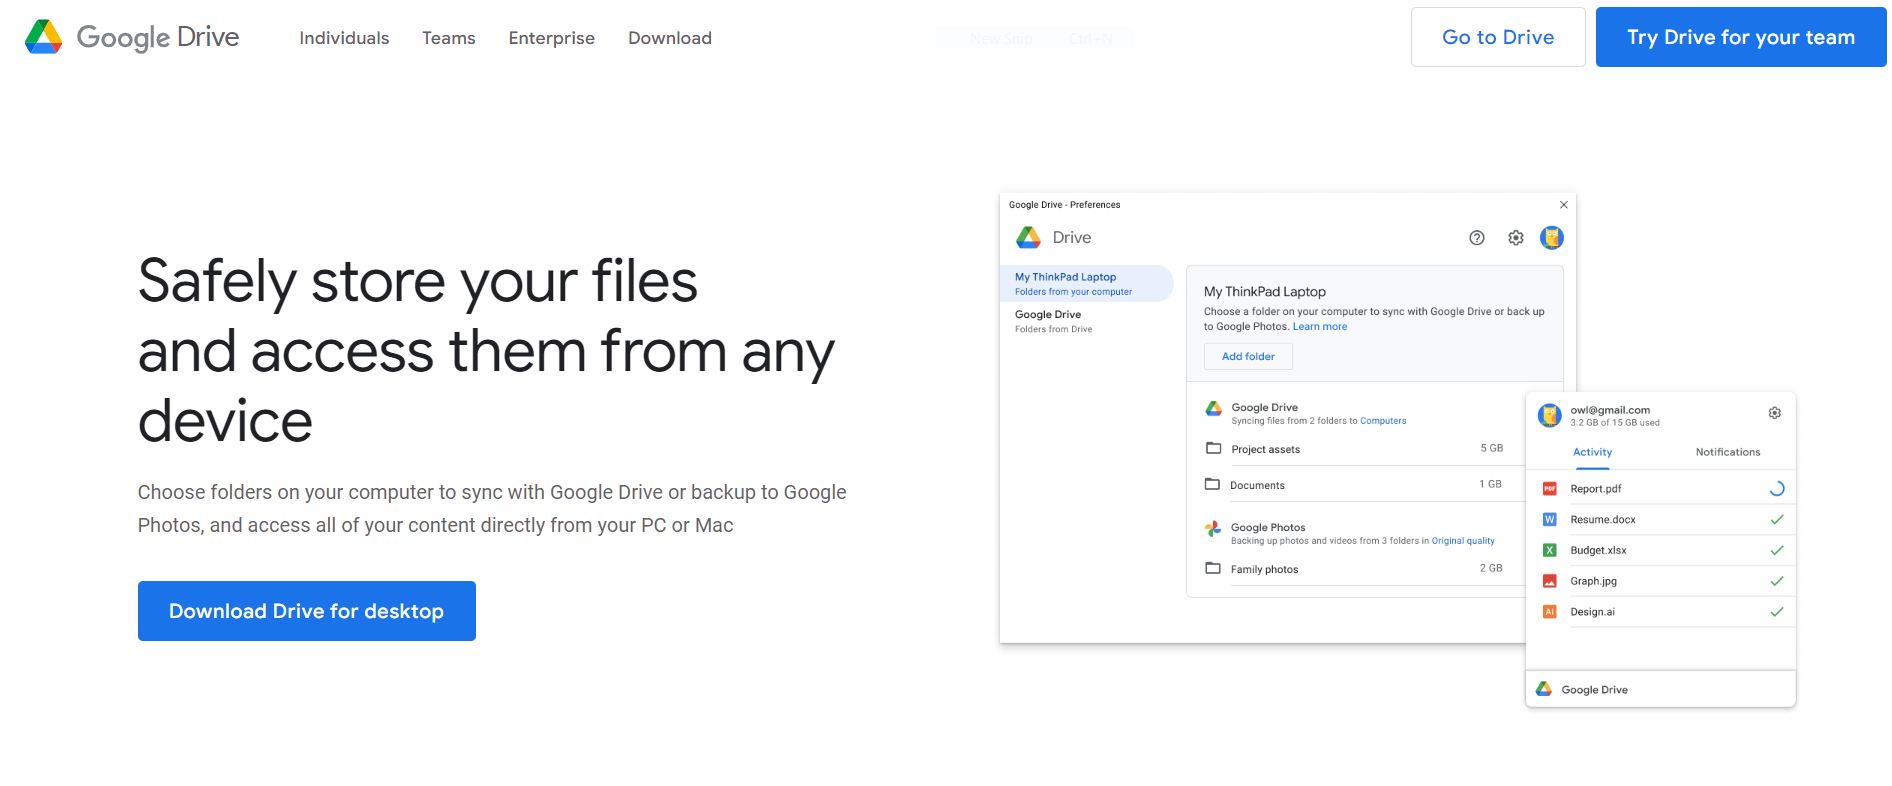
Google Storage also has a desktop program called Backup and Sync, making accessing your drive easier. Google Drive will sync with a local folder on your computer using the Backup and Sync utility. You can then access your Google Drive directly from the file explorer in your operating system.
Google Drive is a tool of Google to provide free cloud access. But what will you do if chrome is not working?
See also: Fix The Error There Was A Problem Connecting To OneDrive With 13 Fixes
Table of Contents
How To Change The Location Of The Google Drive Folder
After Backup and Sync are installed, a folder is created in the C drive of the computer in question. This article will walk you through the process if you need to move that folder to a different location. There are three ways to modify the establishment of a Google Drive Folder, and this blog covers each one with a user guide and step-by-step instructions.
See Also: Steam Download Stopping? Here’s How To Fix It!
During Setup
Suppose you haven’t yet taken advantage of Google Drive’s backup and sync capabilities. Then you can always delete backup and sync and modify the Google Drive folder location by uninstalling the present installation and reinstalling backup and sync.
I wouldn’t advocate installing the client from your desktop if you’ve already utilized backup and sync and synchronized your files. Backup and Sync can be launched from the system tray menu once installed. However, if you want to remove it and reinstall the Backup and Sync client, follow the procedures below:
- To begin, go to https://www.google.com/drive/download/ and download the Backup and Sync client.
- After that, double-click the setup file to install it on your computer.
- Then, click the GET STARTED button to begin customizing the client.
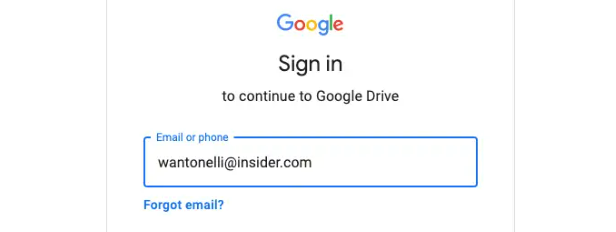
- After that, go to Sign in using your browser and log in with your Google account.
- Next, select the folders you’d like to back up and click the Next button.
- On the next screen, select a folder by clicking the change option.
- Finally, press the start button to begin syncing or backing up your files.
Check-Out: We Couldn’t Complete The Updates Undoing Changes | Top 6 Ways
Move To A New Location
One of the disadvantages of the backup and sync client is that once you’ve synced your data, you can’t change the default location.
As a result, you’ll have to close the backup and sync the client, modify the Google Drive folder location, and then sync your data. And for that, you’ll need to take the following steps:
- From the system tray, select Backup and Sync Client.
- Next, pick Preferences from the three-dot menu.
- After that, go to Google Drive and uncheck the item next to Sync My Drive to this Computer.
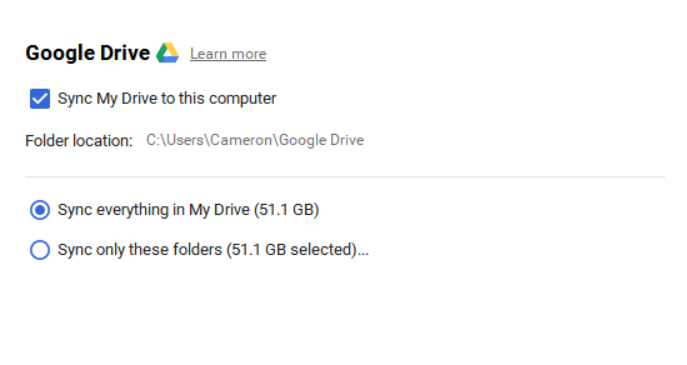
- Select Continue in the new dialogue box.
- Return to this computer and tick the Sync My Drive box.
- To modify the Google Drive Folder location, tap on Change.
- Run the Backup and Sync client again, and the message “A synced folder is missing” will appear. Select the new folder you created and confirm your action by clicking the Locate button.
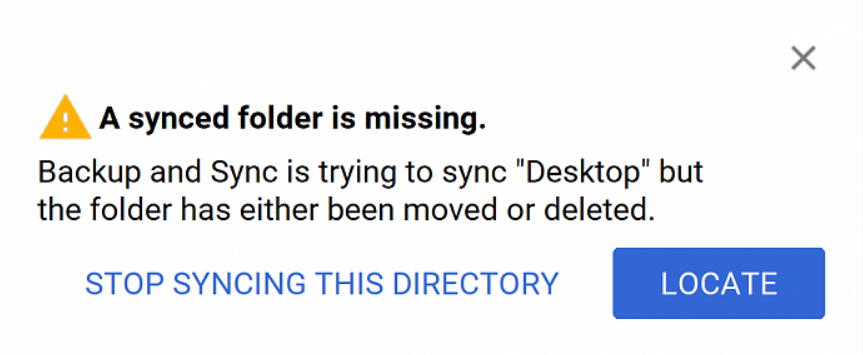
- The sync client asks if you want to “Merge with Existing Folder?” Click the “Proceed” button to continue.
- That’s all there is to it. The backup and sync client will now sync any files that have not yet been synced.
Check Out: Best FFXIV 90002 Fix | 4 Working Ways
Backup And Synchronization Software
Suppose you’ve already synchronized all your Google Drive files but want to resync them to a different location. Then, after disconnecting the Google account and reconfiguring the Backup and sync client, you must start over.
The appealing aspect of this solution is that you may move your locally synchronized Google Drive contents to a different location and merge files if necessary.
- From the system tray, select the Backup and Sync client icon.
- Next, pick Preferences from the three-dot menu.
- After that, go to settings and confirm your action by clicking Disconnect account.
- After that, copy your synced files to a new directory and delete the old one. If you wish to sync all of your files from the beginning, you can skip this step.
- After that, go back to the backup and sync client and click the sign-in button.
- Then, complete the signing procedure by following the on-screen directions.
- Launch the backup and sync client after you’ve signed in and click the Get started button. Then, sign in and complete the login process using your browser. After that, select the folders you wish to back up to Google Drive and click Next.
- Finally, select a new location by pressing the change button. You can also merge your already synchronized files in the area where you copied them.
- Finally, press the start button to begin backing up and syncing your files between your computer and Google Drive with the backup and sync client.
Sometimes, it also happens that the Windows start button has stopped working. It will lead to many problems and hinders the system from working. Hence, learn easy fixes if your Windows start button is not working and become a tech pro.
Conclusion
You have now learned how to install and change the location of the Google Drive Folder on your desktop. Changing folders is pretty easy. You have to be careful with the backup and sync settings. Always try and keep your desktop connected to avoid the Syncing issues. And you can always sign in and sign out as per the requirement.
See Also: Data Error Cyclic Redundancy Check | 4 Easy Ways

Dave LeClair is an experienced News Editor at Automaticable. He has written for publications like MakeUseOf, Android Authority, Digital Trends, and more. Dave also appears in videos for MakeUseOf and TheGamer.