
A “Lag” is a noticeable delay in the action and its reaction when performing a task. And, in the case of Windows 10 mouse lag, it is an inconvenient movement of the mouse pointer which does not sync with our hand movements. It is often annoying when the mouse pointer freezes, lags, or stutters.
Let us see how to fix a wireless mouse lag glitch that arises in Windows 10.
Table of Contents
Ways To Fix The Issue
It hinders the system’s performance and frustrates us while doing our work or playing games. So, let’s see some ways in which we can overcome or troubleshoot this glitch of Windows 10 mouse lag.
Check The Functionality Of The Mouse
Firstly, make sure the device is working. For this plugin some different mouse, you will know if the problem is with the particular mouse or the system. You can also check the same mouse in a different system to ensure its performance.
If the problem of Windows 10 mouse lag lies in the system, follow the upcoming steps.
Re-Install/ Update Device Driver
A device driver is a mediator between the hardware and the software. Therefore, there might be a possibility that the driver is not working to its best.
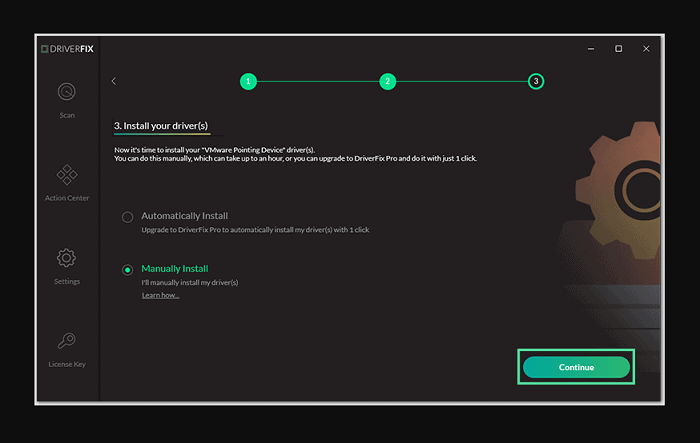
To tackle this mishap of Windows 10 mouse lag, try uninstalling or re-install the Device Driver.
Re-Install Mouse Driver
- To solve Windows 10 mouse lag search “device manager” in the search bar.
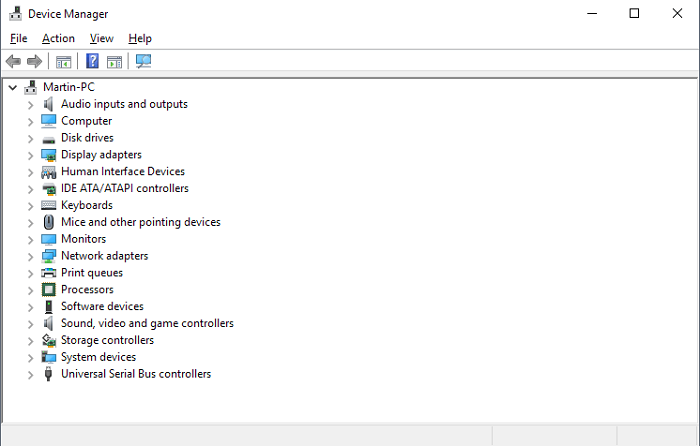
- Look for “mice and other pointing devices” and right-click on it – choose “uninstall” from the drop-down menu to uninstall it.
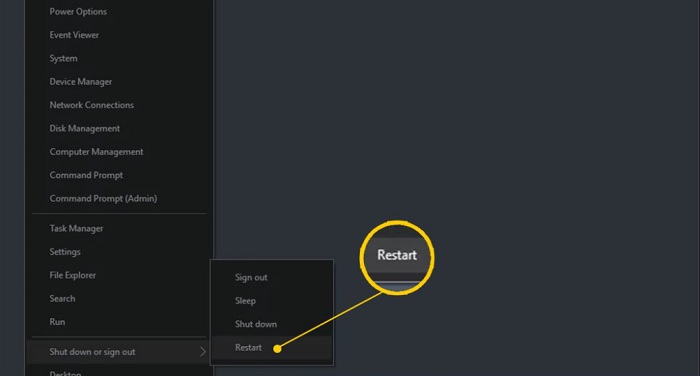
- Restart the device, and the Windows will automatically re-install the missing driver.
See Also : Driver WudfRd Failed to Load-5 Ways to Fix It
Update Mouse Driver
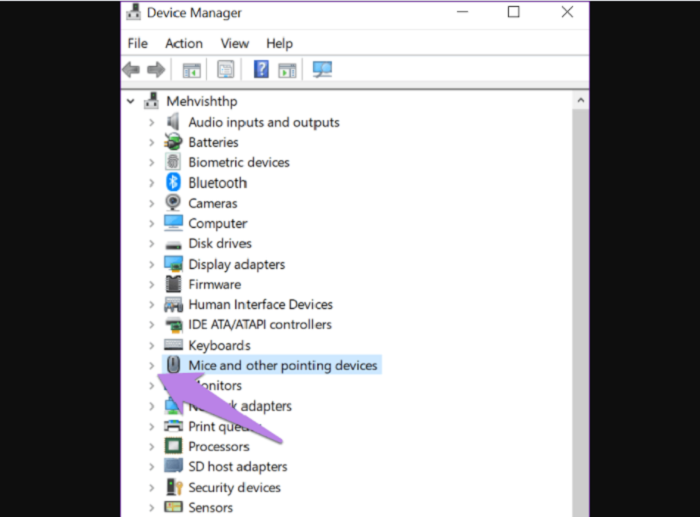
- In order to fix Windows 10 mouse lag issue search for “device manager” in the search bar.
- Look for “mice and other pointing devices” and right-click on it – choose “update” from the drop-down menu.

- Choose the option to look for the driver. This way, the Windows will look for the apt driver and install it correctly on the system.
- Then follow on-screen instructions to update the driver and restart the system for enhancing the performance.
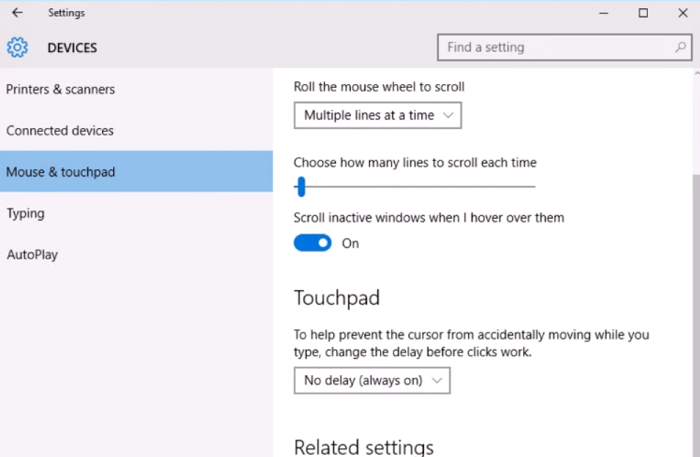
Enable/Disable Inactive Scroll Windows
It is a basic feature in Windows ten that allows us to scroll inactive Windows by hovering over a window with the mouse pointer. Enabling or disabling this feature helps tackle the issue. For this,
- Click on Windows at the bottom left corner of your screen and choose “settings.”

- Choose “Devices” – click on mouse/ mouse & touchpad
- Under the option “scroll inactive Windows,” enable or disable the switch. You may restart your system for better performance.
This might hopefully solve the mouse stutter issue. If it doesn’t go for the next one.
See also: How to Fix the “No Audio Output Device Is Installed” Error on Windows 10
Terminate Realtek Audio Process
- Right-click on the taskbar and choose the “task manager” option from the list.
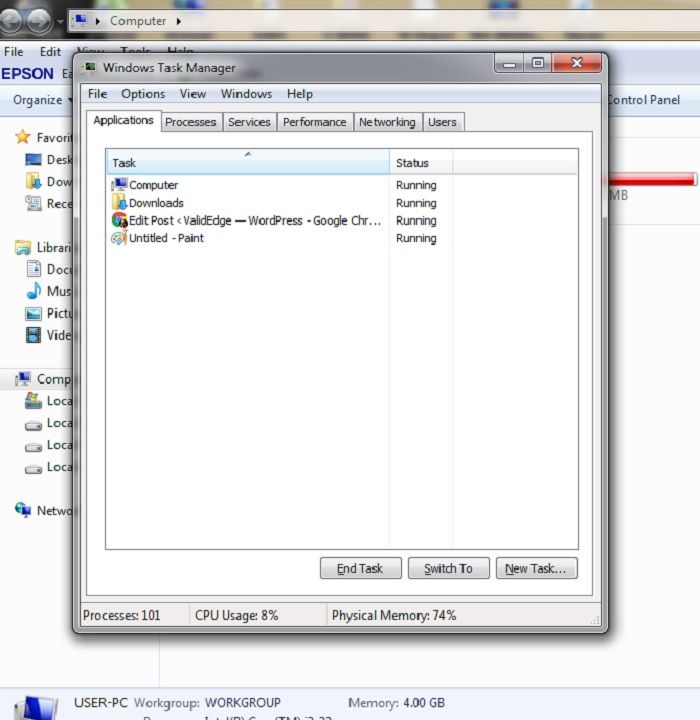
- Click on “more details” at the bottom left of the window that appears.
- Under the “processes” (default) tab – choose “background processes” and select “Realtek HD audio manager.”
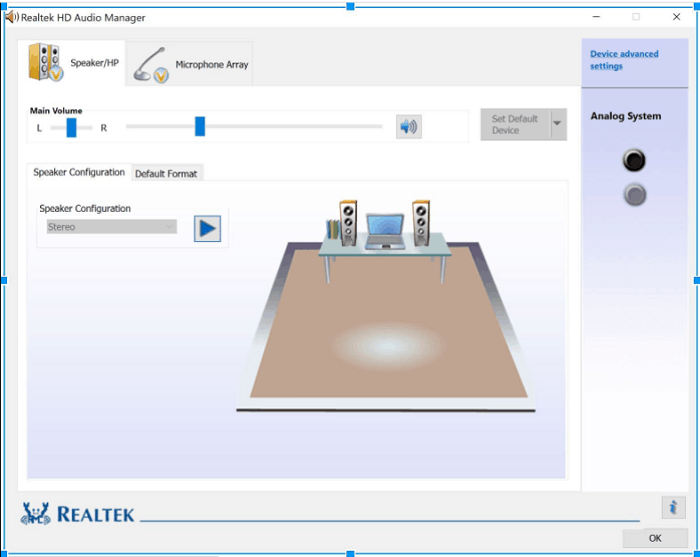
Realtek - Click on the end task button at the bottom right and check your performance.
Terminating Realtek Audio Process can resolve the mouse input lag. If this tip didn’t work for you, try the next one in the list.
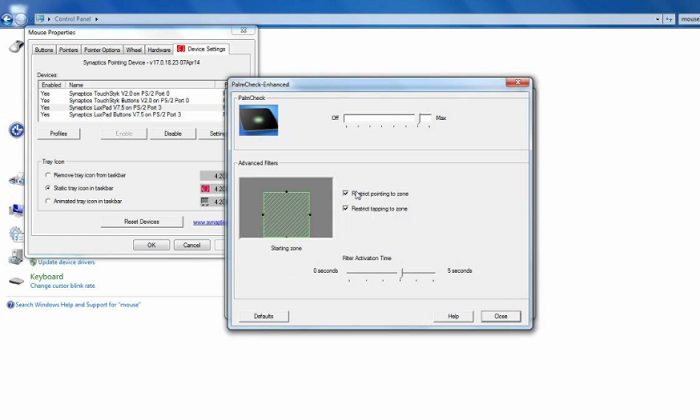
Change Palm Check Threshold
This method is helpful for touchpad users like laptops and external trackpads.
- Click on Windows at the bottom left corner of your screen and choose “settings.”
- Choose “Devices” – click on mouse/ mouse & touchpad
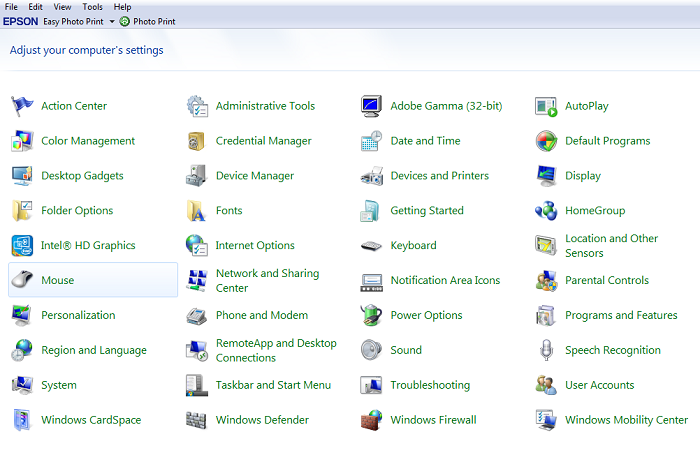
- Click on the “additional mouse options” link at the bottom and choose the click pad/touchpad option under the mouse properties window
- Click on settings – locate the tab for “advanced settings.”
- Under that, locate the “palm check threshold” control and move it towards the end of the minimum value.
See also: Audio Renderer Error | 4 Easy Fixes
Set Touchpad To No Delay
- Click on Windows at the bottom left corner of your screen and choose “settings.”
- Choose “Devices” – click on mouse/ mouse & touchpad
- Under the touchpad option, set delay to “No Delay (always on).”
Turn Off Cortana
- Click on the Cortana icon on the taskbar and choose settings
- Open the “talk to Cortana” tab

- Turn every Cortana option off to make sure that services are completely turned off.
Connect Mouse Receiver To USB 2.0 Port
Test your USB port to ensure that it is not damaged. To do this, you may connect other devices like a pen drive to it to check its functionality.
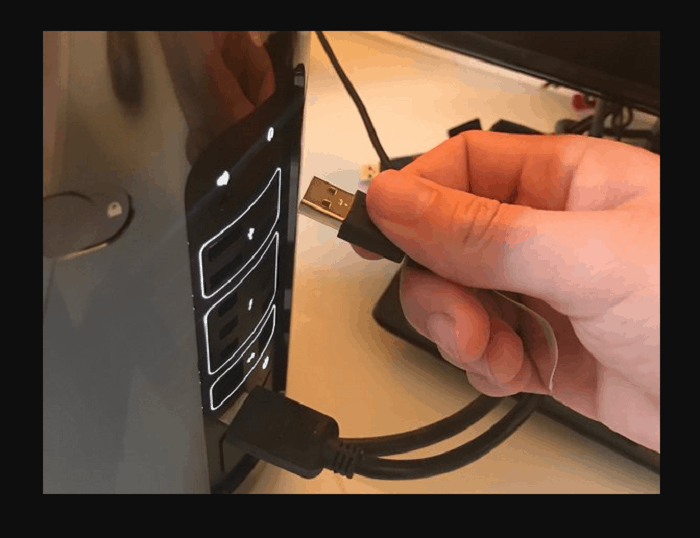
And connect your mouse device to the USB 2.0 port as there are newer ports out in the market, and hence, there is a possibility that you might have turned in the wrong port.
Usage of USB Extender
- Launch run utility on your windows by pressing “Windows + R” keys and search “devmgmt. msc” in the search bar, and press OK
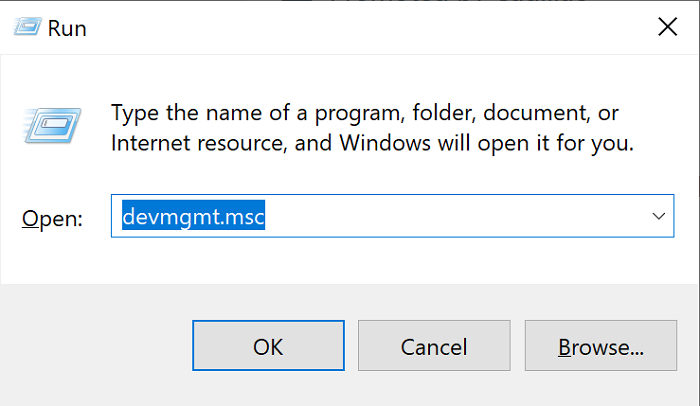
- Under the device manager window, expand “Universal Serial Bus Controllers” and right-click on the option “USB Hub.”
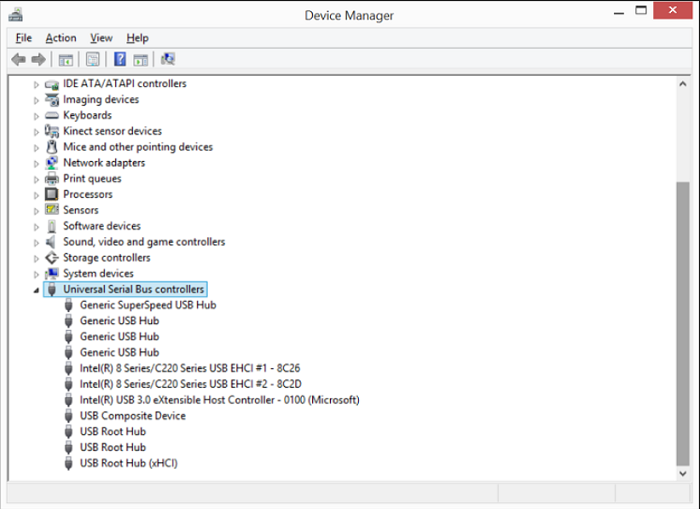
- Click on Properties and switch to the Power Management tab
- Under that, uncheck the option of “Allow the computer to turn off the device to save power.”
- Click OK and test your mouse.
This will hopefully fix the Windows 10 mouse freezing.
Conclusion
This was our call on how to fix Windows 10 mouse lag error. These solutions will help you get over the poor user experience and ensure smooth movement of the cursor, which will enhance the work quality. We hope this article might have helped you in fixing you mouse lag. We appreciate your much valued feedback with a warm welcome!
See also: 4 Methods to Fix Default Gateway Is Not Available Error

Tony, computing writer at Automaticable, covers laptops, tablets, Windows, iOS. Off-duty, he indulges in comics, gaming, speculative fiction, and excessive Twitter use. Non-nerdy side includes rocking out at concerts and hitting NYC bars.