Many services are continuously operating in the background when Windows is in operation. Others are pre-installed and required for the operating system to work correctly, while third-party apps import some. One such service is Windows Audio Service, which is helpful for all browsers, games, media players, and other apps to play audio at all times. In this article let us explore the error- Windows could not start the windows audio service on local computer
You’ll see that some of the service configurations are manual, automated, or disabled if you look at the list of available services. This instructs Windows on whether to start a particular service right away when the machine boots. Many programs rely on the audio service when utilizing audio on the system, so it should be set to the automatic setting.
Click here to also learn how to fix the error- No audio output device is installed.
See also: Fix Forgot Windows 7 Password Hack
Table of Contents
Fixes For Windows Could Not Start The Windows Audio Service On Local Computer Error
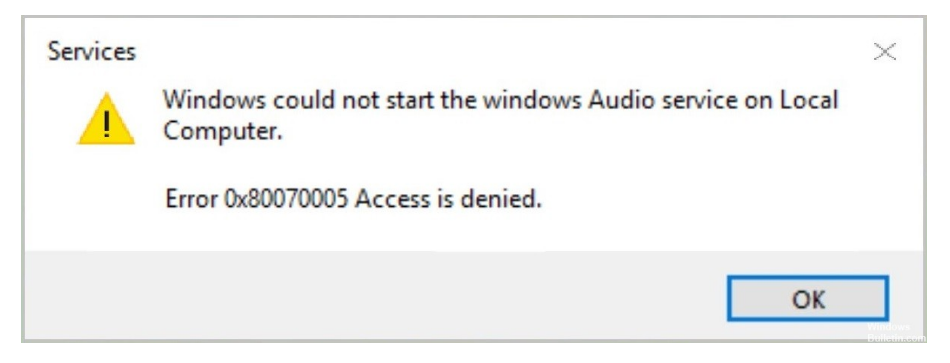
Users may find this particularly frustrating because they cannot hear anything when engaging in other activities, such as viewing films. Corrupted system files are likely to be the problem, while insufficient permissions may also be to blame. Find many solutions to the “Windows could not start the Windows Audio Service on local PC” issue in the sections below.
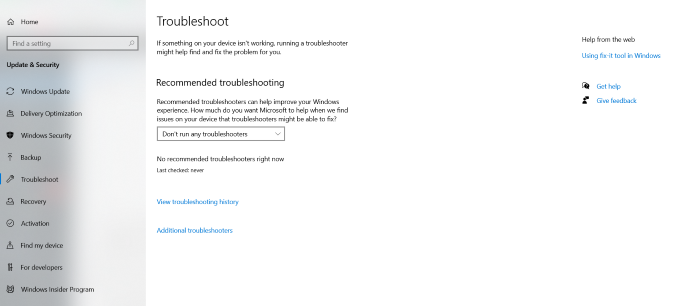
Run A Troubleshooter
Follow the below steps to successfully complete the troubleshooting.
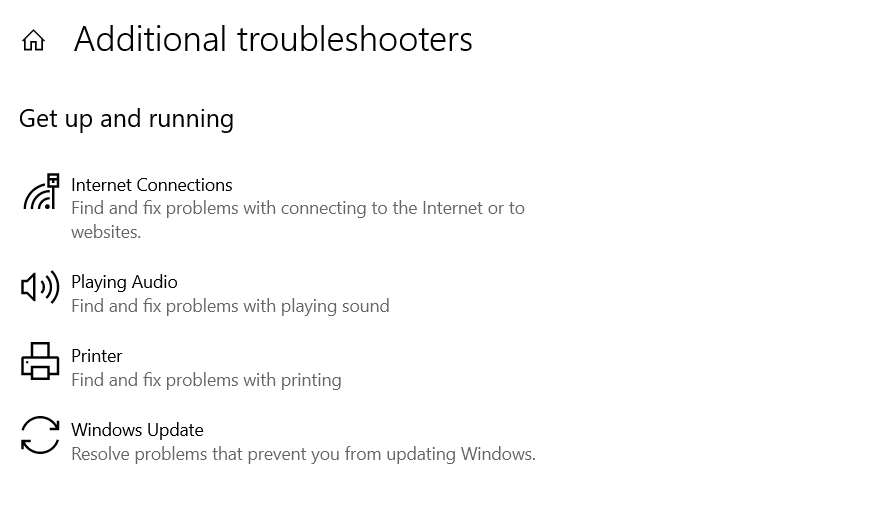
- Select Additional Troubleshooters after typing troubleshoot in the Windows search.
- After choosing Playing Audio, launch the troubleshooter.
- Hold off until the scan is complete.

- Restart your computer after applying the suggested repairs.
Check Out: Windows 10 Microphone Not Working Error [5 FIXES]
Run SFC And DISM
One of the primary causes of Windows not starting the Windows Audio Service on local machines is corrupted[2] system files. You may fix this problem by running SFC and DISM.
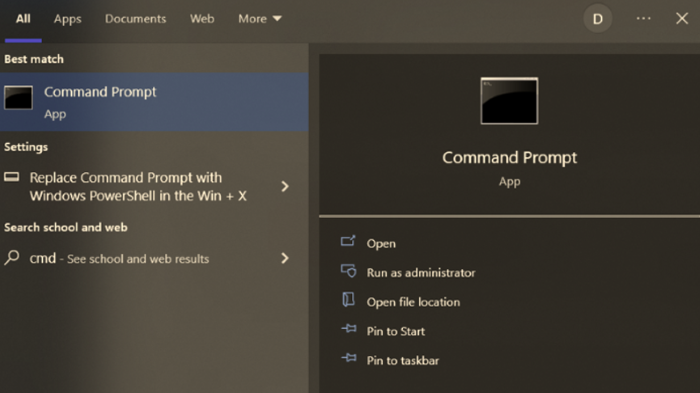
- Windows search and enter cmd.
- Run as administrator by doing a right-click on Command Prompt. Enter the command “sfc /scannow”
- Await the scan’s conclusion. When the scan completes, Windows will notify you whether any integrity breaches were discovered and whether they might be corrected. The following instructions should be pasted, pressing Enter after each one if SFC reports that it cannot fix faults found:
- Dism / Online /Cleanup-Image /RestoreHealth
- Then “Dism / Online /Cleanup-Image /CheckHealth”
- Dism / Online /Cleanup-Image /ScanHealth
See also: Fix: How To Stop Speaker Buzzing
Use Registry
We highly advise creating a registry backup before continuing.
Registry Backup
It is better to back up the registry in order to save data if lost. Follow the below steps to complete registry backup.
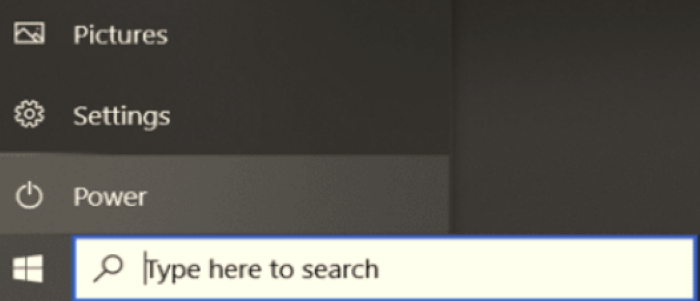
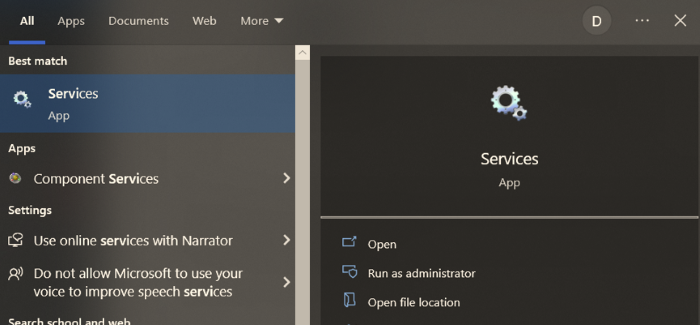
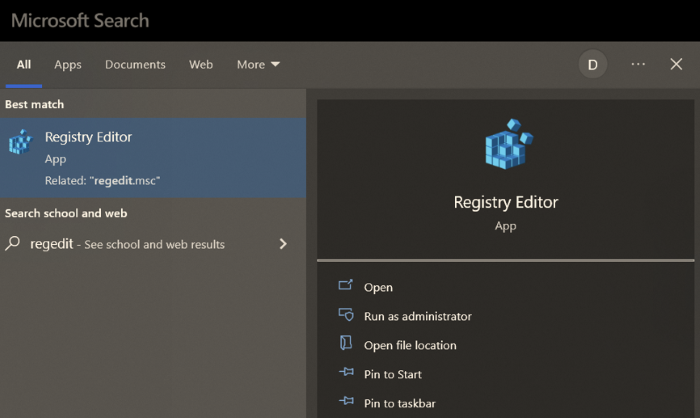
- In Windows search, key in Regedit and hit Enter.
- When User Account Control displays, choose Yes. To export, select File.

- Select All under the Export range, give your backup a name, and then click Save.
This is an easy method to fix Windows could not start the windows audio service on local computer.
Check Out: Fix: Computer Not Recognizing Headphones
Changing The Registry
Return to the registry editor now, and carry out the following steps:
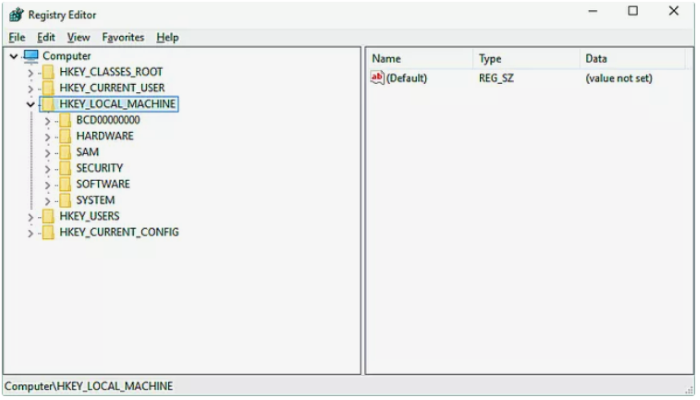
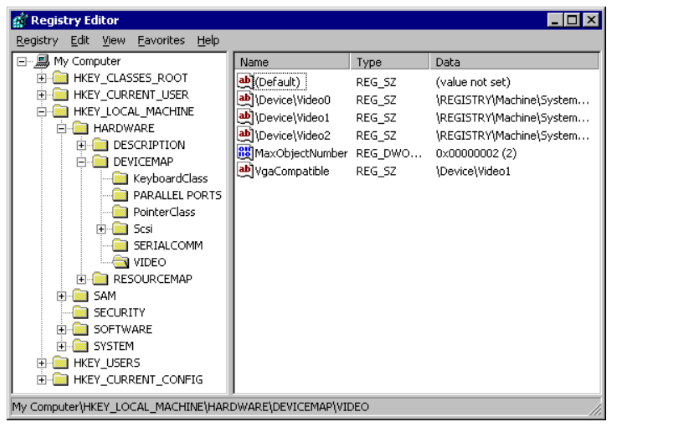
- Go there by using your navigational skills: Computer\\HKEY LOCAL MACHINE\\SYSTEM\\CurrentControlSet\\Services\\
- Then select audios
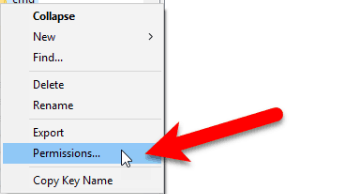
- Click Permissions by using the right-click menu on Audiosrv.
- From the list, choose SYSTEM. Check the box for Full Control. Choose Users from the list now.
- Ensure that the Full Control option is selected. Click OK and then Apply.
See Also: What Is TrustedInstaller.exe? Should You Disable It?
Change Log On Settings
Follow the below steps to change log-on settings
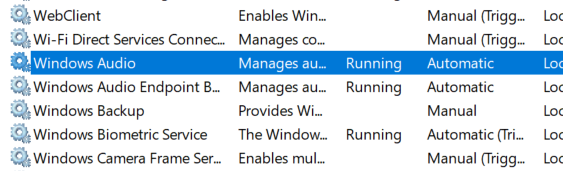
- Search services in the Windows search box then hit Enter.
- Double-click Windows Audio after scrolling down to it.
- Choose the Log On tab in the new window.
- Mark the Allow service to interact with the desktop option, then choose Local account. Click OK and then Apply.
Check Out: How to Fix Nvidia Geforce Experience Error Code 0x0001
Change Audio Registry Permission
It’s conceivable that your user account lacks the necessary rights for the audio registry if changing the service’s log-on account does not resolve your problem. after that, you will need to grant your user account full-control access to modify the audio registry’s permissions. It’s generally not advisable to make changes to the Windows Registry because doing so might result in several system issues. You should thus be fine to go if you correctly follow the instructions. Let’s get going.
- Hit the Windows key + R to see the Run dialogue box.

- Next, type Regedit into the Run dialogue box and press the Enter key. Select Yes when presented with the User Access Control page. Windows Registry opens.
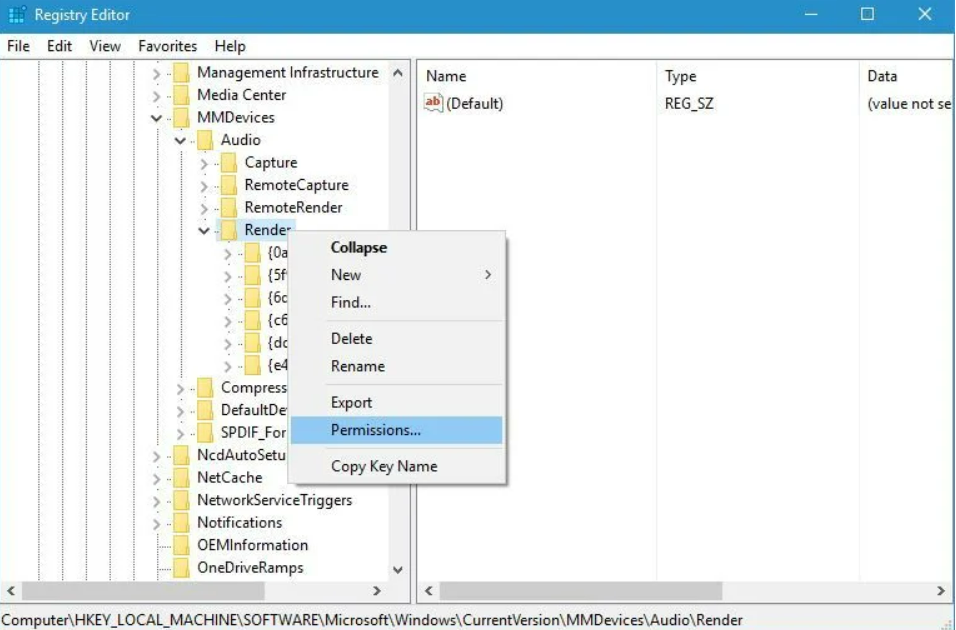
- As a consequence, the Windows Registry window will open. Copy this and paste it into the Windows Registry’s address bar to browse to HKEY LOCAL MACHINESOFTWAREMicrosoftWindowsCurrentVersionMMDevices.
- With this, you may access the devices folder. Select Permissions from the drop-down menu by performing a right-click on the folder: Devices Permissions Changing
- Here, we must grant Everyone access to Full Control. We must first add it for that. Select “Add” from the menu.
- Then click the Find Now button after clicking the Advanced option.
- All of the users and groups on your system will be listed here. Select Everyone from the list, then click OK. Once more, click OK.
- Choose Everyone from the list of Groups or Users on the Permissions panel, and then check the box next to Allow to give it Full Control.
- Once you’ve finished Permitting Complete Control, press OK before clicking the Apply button. Close the Windows Registry window now, and then use the Start Menu to find the Services window.
To test if the problem still exists, look for the Windows Audio service once more and attempt to start it.
Usually, if there is an issue with sound, such as a cracking sound or hearing no sound at all, a test tone is played. But recently, loads of people have been facing issues with their Windows 10 operating system. One of the major issues is failing to play a test tone, which may occur when testing your headphones or speakers.
See also: Fix: Windows Has Stopped This Device Because It Has Reported Problems
Conclusion
If you are facing Windows could not start the windows audio service on local computer, you can solve it with the help of the above steps. These are the elementary processes you can avail of for solving audio problems. Hoping that this article has helped you to rectify your issue with ease.
See Also:
- An Unexpected Error Is Keeping You From Copying The File | Top And Easy Fixes
- Fixing A Bad System Config Info Windows 10 | Complete Guide
- Ways to Use Windows Desktop Search
The official team behind Automaticable. We will help solve all your tech doubts!