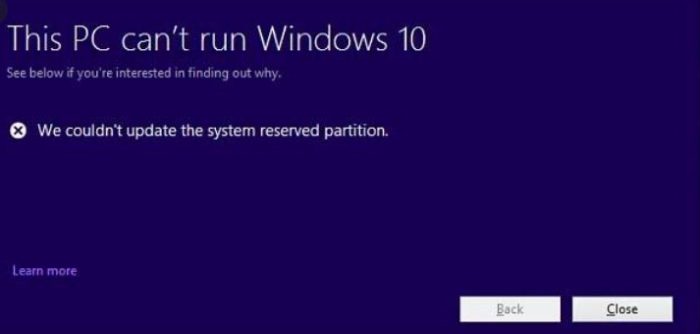
Many of us must have come across the need to fix “Couldn’t update System Reserved Partition” error while upgrading to or updating to the latest version of Windows. One of the main reasons why the error with code 0xc1900104 or 0x800f0922 might be encountered is, The System Reserved Partition, or commonly known as SRP, might be full.
Users invest in third-party anti-virus and security apps that write to the SRP, which is a small partition on a hard drive and stores boot information for Windows, and become capable of filling it up.
In order to be able to upgrade to the latest version smoothly, Windows recommend following a series of steps, according to the version of Windows one might currently have. But it is to be noted that these steps carry some complications and risks.
To upgrade the device, at least 15MB of SRP space must have to be freed using one of the ‘relevant to the user’ methods below, and for those who are just updating, 13MB of space will be required.
Since the methods below carry complications, it is preferred that the below-mentioned steps should be carried out by advanced users who have experience using the command line. If an error is made while executing the steps, it may lead the user to a no-boot situation resulting in loss of data.
See Also: How to fix the MSVCP140.dll missing error on Windows?
Table of Contents
How to Determine if SRP is GPT or MBR?
To start with, if the SRP is GPT or MBR needs to be determined first.
- Press R + Windows key. Type diskmgmt.msc in the run window that appears and then press Enter.
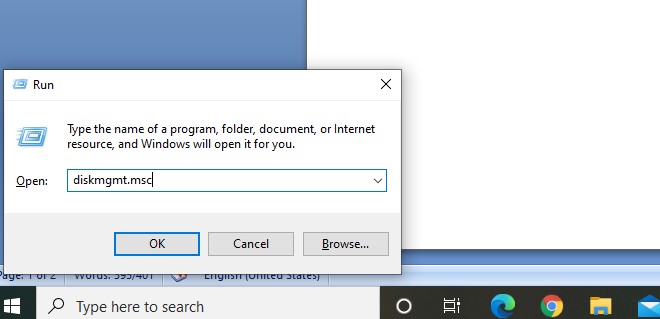
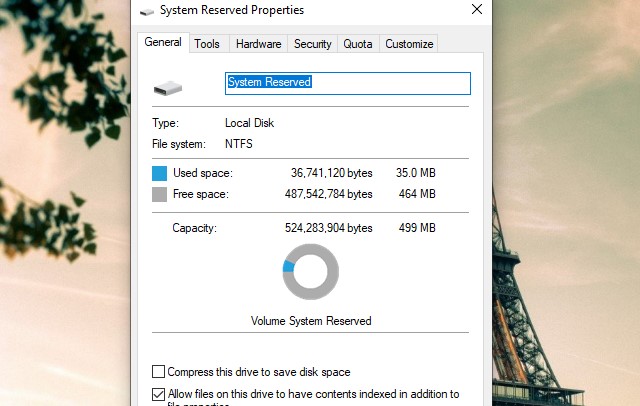
run command diskmgmt.msc - Right-click on the disk that contains SRP and select Properties.
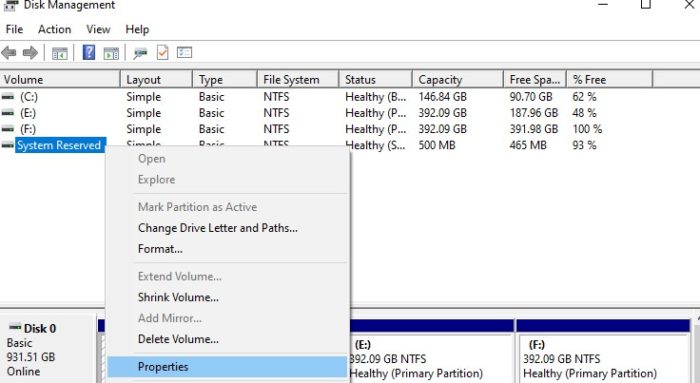
system reserved properties - Choose the volumes tab, and then, then a text appears which would inform of the type of SRP.
- Now that the volume system reserved is checked, you can move on to fix the error, depending upon your Windows System.
See Also: 0x8000ffff Windows 10 Update Error | Fixed
4 Methods Fix ‘Couldn’t Update System Reserved Partition’ Error
To go further, choose the appropriate method and follow the steps.
Windows 10 with GPT System Reserved Partition
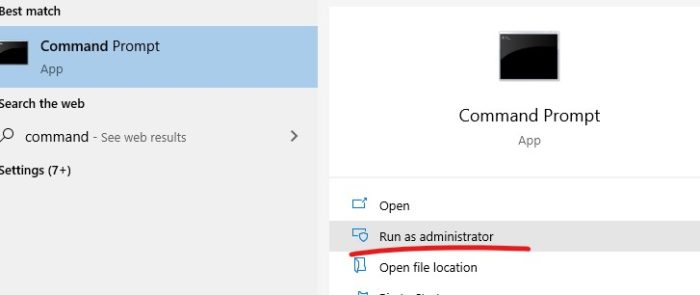
- Look for cmd and then right-click on Command Prompt in the results, and select Run as administrator.
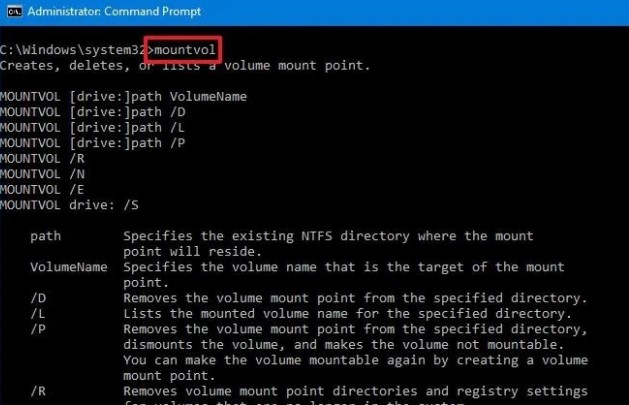
command prompt - Type ‘mountvol y: /s’ in the command prompt and press Enter. In doing so, Y: drive letter will be added to access the System Partition.
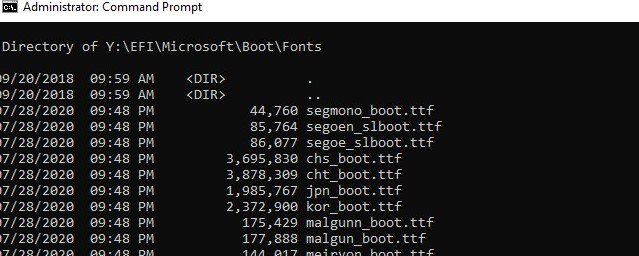
- Change to the Y drive by typing Y: and hit enter. After that, type cd EFI\Microsoft\Boot\Fonts to navigate to the Fonts folder. Then, type del*.* to delete font files.
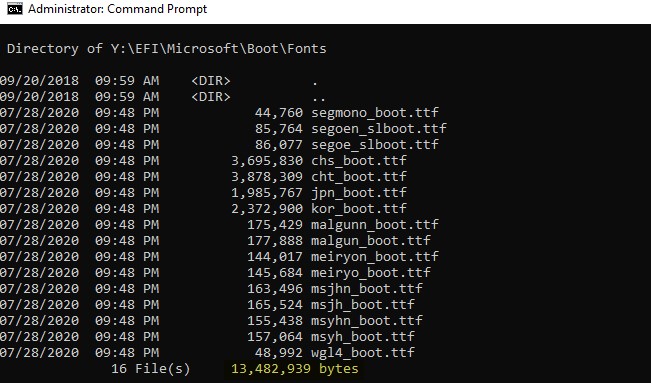
system reserved y: directory delete - Press Y and then hit Enter to continue if the System asks you if you are sure to continue.
Windows 10 with MBR partition
- Press R + Windows key. Type diskmgmt.msc in the run window that appears and then press Enter.
run command diskmgmt.msc - Select the partition marked System Reserve and right-click on it.
- Select Change Drive Letter and Paths and then choose Add.
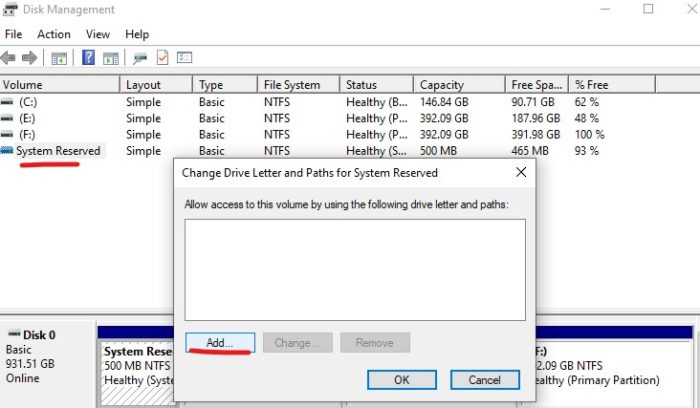
system reserved- change drive letter - Enter Y for the drive letter and then, tap or click OK.
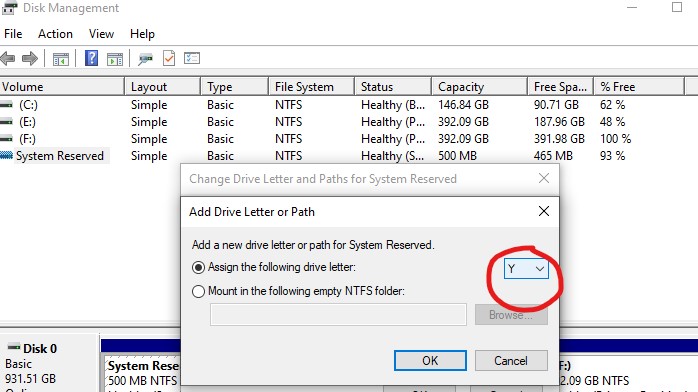
enter Y as system reserved path - Search for cmd from the Start Menu. Right-click the command prompt and then select Run as administrator.
- Type Y: in the command prompt and press enter to change to that drive. After that, navigate to the Fonts by typing cd Boot\Fonts.
system reserved y: directory delete - Type takedown /d y /r /f . (be sure to include spaces and period) and then press Enter.
- Make sure you are still located in Fonts location (Y:\Boot\Fonts) as described earlier, and then type del *.* to delete font files.
See Also: Computer Restarts Randomly on Windows 10 [SOLVED]
Windows 7 or Windows 8.1 with GPT System Reserved Partition
- Tap on the Windows key and type cmd.exe, right-click on the result and select ‘Run as administrator’ after opening the command prompt.
run cmd as administrator - To mount the system partition, type mountvol y: /s and then type taskkill /im explorer.exe /f and after that type explorer.exe to restart Explorer with elevated privileges.
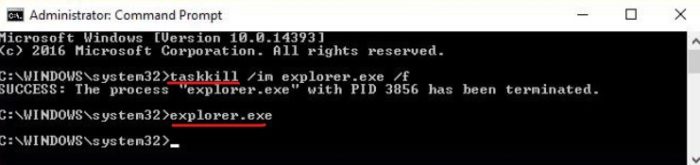
type taskkill–explorer.exe - Go to Y:\EFI\Microsoft\Boot\ after opening Explorer and remove all the language folders except the language folders that need to be used.
- To free up more space, remove font files at Y:\EFI\Microsoft\Boot\Fonts and then reboot the device, which removes the driver letter.
delete files - Run the system again.
Windows 7 with MBR Reserved Partition
- Assign a drive letter to the system reserve partition and then follow the instruction from Windows 10 MBR partitions to do so.
- Then, remove all language folders but the folders of the languages that you want to use and truncate the NTfS log file with the command chkdsk/L:5000 /X /F.
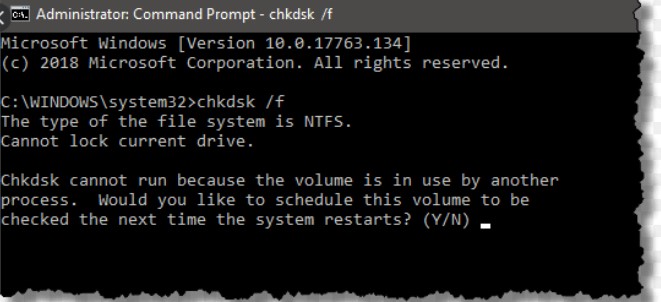
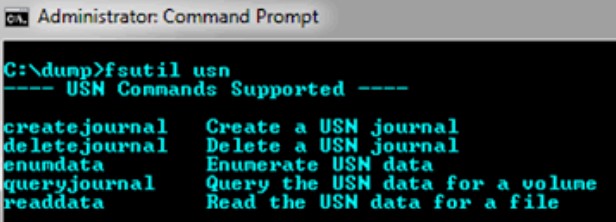
chkdsk f:/ - If truncating the NTFS logfile is not enough, run the following commands to remove the USN Journal and recreate it: fsutil usn delete journal /D /N Y:
fsutil usn createjournal m=1500 a=1 Y: - Restore permissions with the command icacls Y:\ /restore %systemdrive%\NTFSp.txt /c /t and run icacls . /grant system:f /t to adjust the ACL back to System.
modify USN journal - Run icacls Y: /setowner “SYSTEM” /t /c to set the owner of the drive to System and remove the drive letter in Disk Management.
See Also: Fix Error: The Application Was Unable To Start Correctly (0xc000007b)
Conclusion
So, these were the 4 working methods to fix “Couldn’t update System Reserved Partition” error. We hope you chose the method that is in accordance with your system. If at all the “Couldn’t update System Reserved Partition” error fix, fails, you must contact the Windows System Support at the earliest. They will surely help you out to fix this error.

Tony, computing writer at Automaticable, covers laptops, tablets, Windows, iOS. Off-duty, he indulges in comics, gaming, speculative fiction, and excessive Twitter use. Non-nerdy side includes rocking out at concerts and hitting NYC bars.